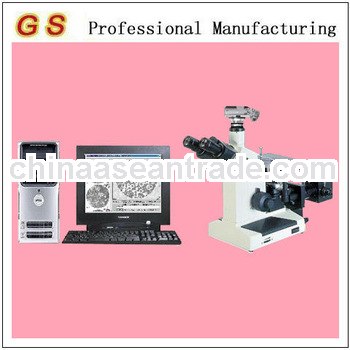
4XC-W metallographic trinocular microscope
1. Function and application
This metallographic microscope is mainly used for metal identification and analysis of the internal structure of organizations. It is the important device which can be used to study the metallographic of metal, and it is also the key instrument to verify the product quality in industrial application. This microscope can be equipped with photographic device which can take metallographic picture to carry out artificial contrast analysis, image editing, output, storage, management and other functions.
2. Main technical parameters
Three eyepiece tube | Tilting angle: 30° Adjustable range: 55-75mm |
Eyepiece | Wide view eyepiece 10X (16mm) |
Objective lens | Flat fielding achromatic objective lens 10X, 25X, 40X, 100X (oil) |
Loading table | 150 x 200mm Moving range: vertical 15mm, horizontal 15mm |
Eyepiece (optional) | 12.5X, 16X, 20X, 10X flat fielding graduation eyepiece (grid value 0.1mm) |
Objective lens (optional) | 60X, 80X |
Photographic device (optional) | 1. Image adapting lens, high resolution color CCD camera static and dynamic capturing card, image analysis software, EPSON color jet printer 2. Digital camera, specific adapting lens |
3. Configuration
1) Metallographic microscope: inverted trinocular microscope 4XC;
2) Adaptor: special adaptor
3) Image system: camera shooting CCD
4) Image analysis system: SRMAS software
4. Metallographic graph example
G18Cr4V grain size after quenching | Bainite content measurement | Low-carbon deformed steel pearlite structure | Gray cast iron metallography- pearlite | Gray cast iron metallography- pearlite |
Cast carbon steel-microscopic structure | Cast Al-Si alloys Modificator P | Gray cast iron undercooled graphite content | Cast Al-Si alloys overburning | Carbon steel graphitized rating |
Average grain size measurement | Nitriding layer depth measurement and looseness test | Martensite needle length rating | Graphite spheroidization rating | Tool steel large carbide rating |


 Verified Company
 Jinan Gaosheng Testing Equipment Co., Ltd.

